Tag: Workouts
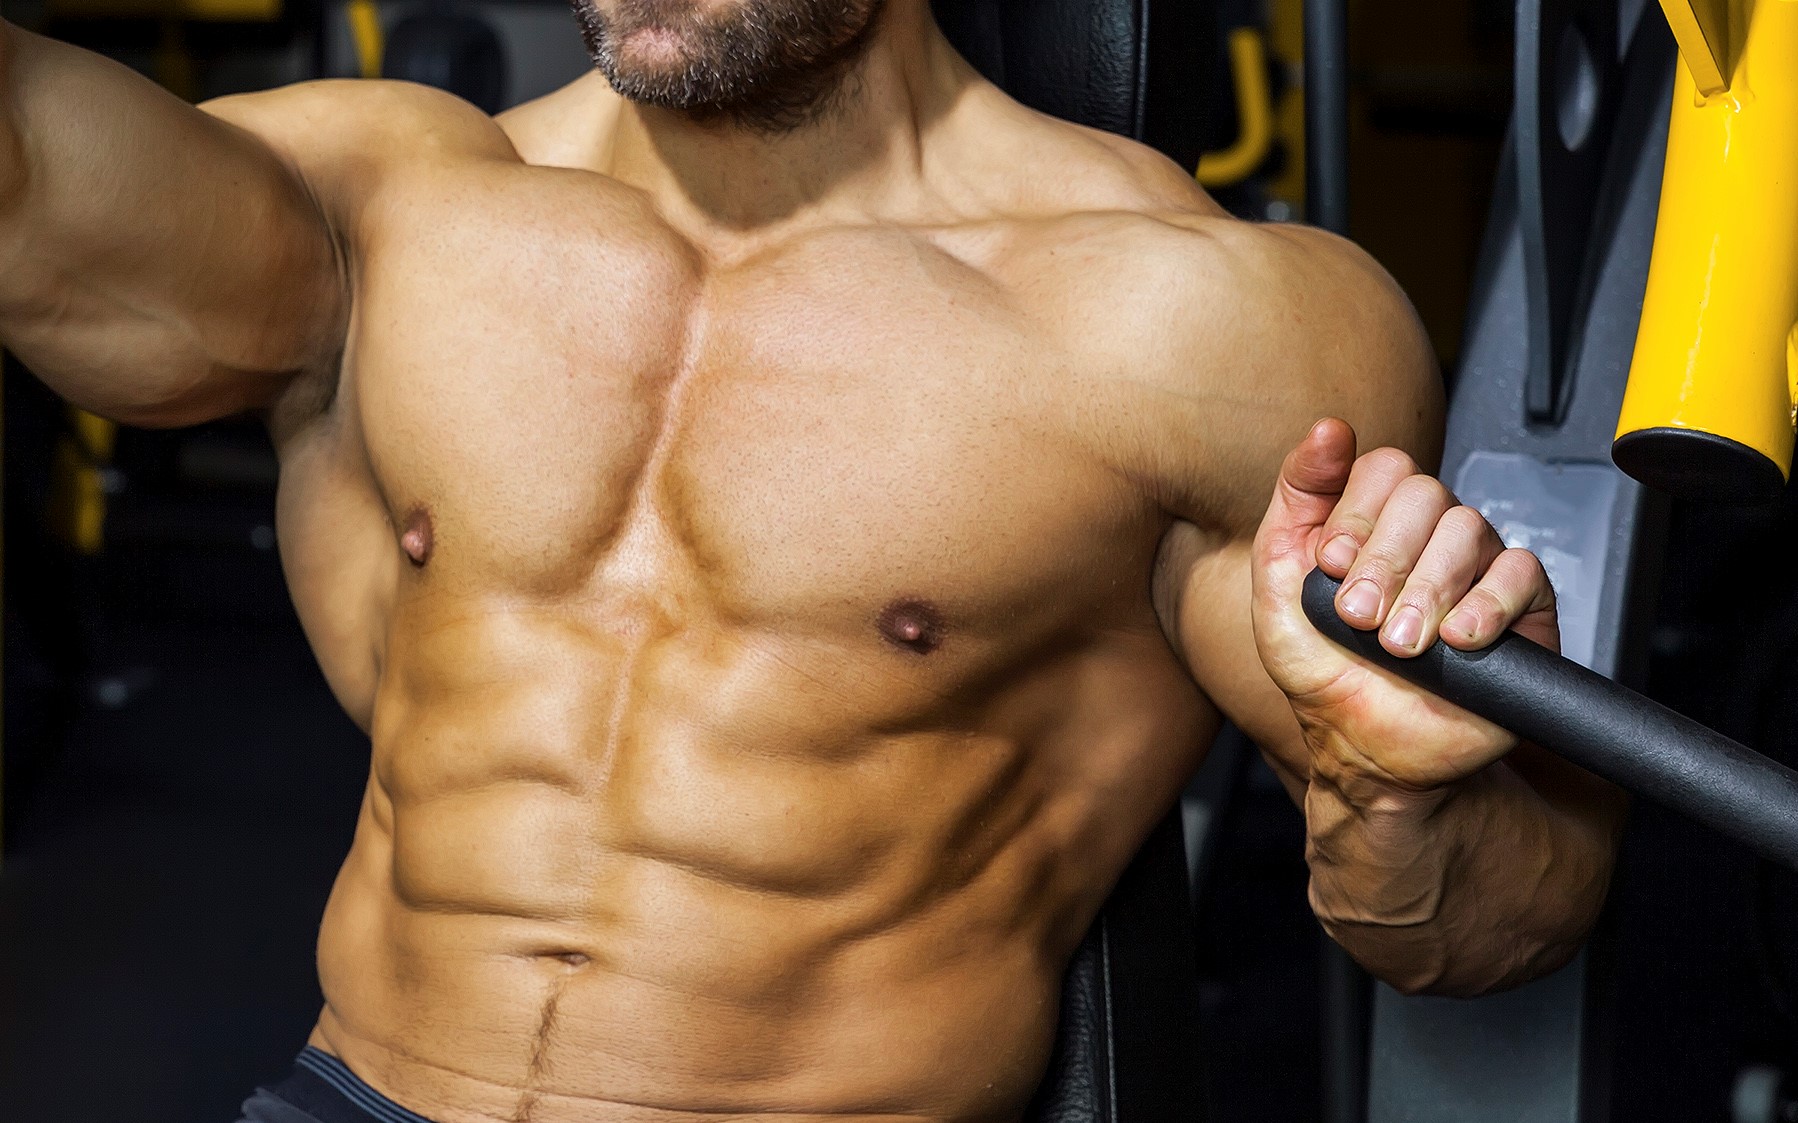
Hell Raiser Training Will Pulverize Your Muscles Into A Pulp
Put your muscles through hell.
We’ve covered a lot of different training methods, all of them hardcore in their own right. The Hell Raiser Training program sounds like it could be one of the most brutal workout plans out there. If you haven’t heard of Hell Raiser Training then listen up. It’s a twelve week program meant to give you some massive muscle gains by putting you through some sweet, sweet torture.
The Gist
Invented by Tom Fuller, the idea behind the whole program is to push your muscles past their limits by performing a hell-centric rep. Yeah we know, you’re probably saying what the hell is a “hell-centric” rep. We’ll get to that in a moment. To begin with, you have to start by finding out what 80% of your 1 rep max weight is.
For example, if you normally max out with a 70 lb one rep curl – then you have to find 80% of that weight. You then perform curls with that 80% max weight (in this case 56 lbs) for 8 reps. This is when things begin to get interesting. After your regular reps you perform four additional reps. So what makes those extra 4 so special? Well, your training partner offers resistance by pulling down the weight you lift. You then slowly descend while your partner keeps light pressure for about five seconds.
The idea is to put your already burning muscles through that extra bit of torture. Fuller emphasizes that during the resistance phase that it is essential to allow for a steady descent on the way down. This way you’ll get the added burn. Once you’ve gotten through the first twelve weeks of training, Fuller suggests that you switch things up and perform the training every other week, incorporating different techniques in the interim for variety.
Day 1: Arms
• Close Grip Bench – 2 sets, 8 reps + 4 Hell-centric reps (HR)• One Arm Machine Triceps Ext – 2 sets, 8 reps + 4 HR• Lying DB Triceps Ext – 2 sets x 8 reps + 4 HR• Standing DB Curls – 2 sets x 8 reps + 4 HR• DB Preacher Curls – 2 sets x 8 reps + 4 HR• Reverse Curls – 2 sets x 8 reps + 4 HR• Forward and Reverse Wrist Curls – 2 sets x 8 reps + 4 HR
Day 2: Legs
• Leg Press – 2 sets x 8 reps + 4 HR• Leg Extension – 2 sets x 8 reps + 4 HR• Hack Squats – 2 sets x 8 reps + 4 HR• Hamstring Raises – 2 sets x 8 reps + 4 HR• Standing Leg Curls – 2 sets x 8 reps + 4 HR
Day 3: Rest
Day 4: Chest and Shoulders
• BB/Smith or DB Press – 2 sets x 8 reps + 4 HR• Incline Smith or DB Flyes – 2 sets x 8 reps + 4 HR• Pec Dec – 2 sets x 8 reps + 4 HR• DB or Smith Military Press – 2 sets x 8 reps + 4 HR• Side Laterals – 2 sets x 8 reps + 4 HR• Barbell Shrugs – 2 sets x 8 reps + 4 HR
Day 5: Back/Rear Delts/Calves
• Wide Grip Pull Ups – 2 sets x 8 reps + 4 HR• T-Bar – 2 sets x 8 reps + 4 HR• Narrow Grip Pull Downs – 2 sets x 8 reps + 4 HR• Reverse Pec Dec or Bent Laterals – 2 sets x 8 reps + 4 HR• Calf Extensions – 2 sets x 8 reps + 4 HR• Calf Raises – 2 sets x 8 reps + 4 HR
Day 6 & 7: More Rest & Relief
Have you done Hell Raiser Training before? Let us know your results in the comments below and be sure to follow us on Facebook and Twitter.
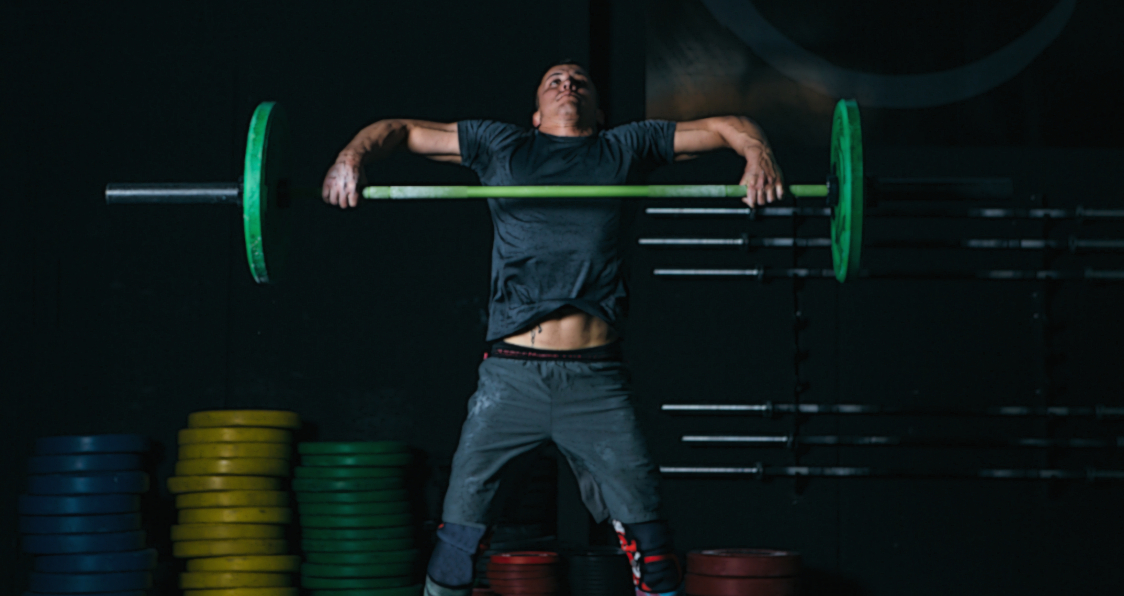
Master The Power Snatch and Watch Your Gains Skyrocket!
Developing Max Power
For many athletes and sportspeople, being powerful is absolutely crucial and can prove to be the difference between success and failure. This article will break down one of the greatest power-based exercises that can be performed for athletic development – the power snatch.
The Benefits of the Power Snatch
The power snatch is an exercise that is typically performed by Olympic weightlifters looking to improve their snatch performance. However, nowadays Olympic lifting is being performed more frequently by athletes from other sports as it is a method for increasing overall power output (1).
There are a number of specific benefits associated with the power snatch and therefore, for any individuals looking to improve power, it is worthwhile considering incorporating the power snatch into their training.
Bar Height
In the power snatch, it is not necessary to drop down into a squat in order to catch the bar. As a result of this, the bar must be pulled higher and with more power to allow it to be caught in a more upright position. Those who particularly struggle with final phase of the snatch or with the high pull will find this exercise to be of great benefit and it may improve their overall snatching ability.
Second and Third Pull Power
In a similar vein, the power snatch is an excellent developer of the second and third pull. The power snatch forces the lifter to pull maximally and “throw” the bar overhead. With a full snatch, dropping down quickly and deeply into a squat can compensate for a poor or inefficient pull.
Being capable of pulling powerfully and extending quickly through the hips will cause the bar to accelerate faster and facilitate a more efficient snatch (2). Therefore, practicing the power snatch regularly and improving one’s rate of force development will help to accelerate the bar to a greater extent and improve overall snatch performance.
Learning the Snatch
The snatch is a highly technical lift that takes time to learn properly – it is very important that time is taken and progress is gradual. Typically, coaches will start with the block or hang power snatch so that the individual can begin to learn the movement patterns and requirements for the snatch. Once this has been established, they can then be progressed to the floor. When pulling from the floor, a specific emphasis should be placed on developing both the 1st and 2nd pull (3).
The power snatch tends to be slightly easier to instruct than the full snatch due to the fact that the barbell can be caught in high and there is no need to drop into the overhead squat position. Once the power snatch has been perfected, then the overhead squat position can be taught through exercises. such as snatch balance, to gradually advance them to the point where they are eventually ready to perform a full snatch.
Snatching with Limited Mobility
Snatching with poor mobility is a recipe for disaster. Every single joint must be utilized during the snatch and must therefore be supple and be capable of moving through a great range of motion (4). For every serious lifter mobility should be a priority and should be worked on frequently.
However, for those who have restricted mobility, performing the power snatch is recommended. The full snatch is a lot more demanding on the joints as they are required to move through a larger range than the power snatch.
Increased Technical Training
For the Olympic Lifter, it’s unwise to practice heavy lifts with every session. With any type of physical training, it’s essential to program in a tapering period to allow for recovery.
Regularly performing technique-focused power snatches with moderate loads will not be overly taxing on the body and can therefore be performed very regularly without impacting the recovery process. Additionally, this may refine technique, enhance power and therefore improve one’s overall snatching ability.
How To Power Snatch
As mentioned, the power snatch differs from a full snatch in during the power snatch the bar is caught relatively high and a deep squat is not required. The full snatch involves driving the bar up and overhead but then rapidly dropping into a deep squat in order to catch the bar.
The main benefit of the power snatch is that, because the bar must be caught high, the lifter must generate maximal power in order to get the bar directly overhead and establish a strong and stable overhead position.
The following number of points run through how to appropriately and effectively complete a power snatch.
1) Assume the snatch position
Feet slightly wider than hips, toes pointed out, bar in close proximity to the shins, gripping the bar with straight arms and hands wider than shoulders. The way in which a lifter sets up is determined by their physical attributes and therefore, there is not a “universal” snatching position.
2) Perform a standard snatch pull (first, second and third pull)
This involves initially lifting the bar from the floor, bringing the bar up to the thighs, extending powerfully through the hips and pulling aggressively upward on the bar.
3) Catch the bar high
Look to “catch” the bar high and do not not allow it to push the body down into a deep squat – the lifter should not drop beyond parallel with the floor. Catching high will ensure that maximal power is produced during the pulls and lead to an efficient turnover and strong overhead position (5).
When performing a power snatch, it is essential that the lifter does not change anything about their snatch technique or adjust their mechanics to allow them to complete the lift. For example, a common error is to jump the legs out wide when catching the bar overhead to give them an advantage and prevent them from dropping too deep.
Adjusting movement patterns and mechanics for the power snatch may cause movement problems with the full snatch. Therefore, if movement begins to break down or inconsistencies begin to creep in with the power snatch, consider reducing the weight on the bar so that proper movement is restored.
Power Snatch Programming
Power snatches can be incorporated into many different training regimes but should only be included if it aligns with the individuals goals and targets. If a lifters goal is to improve their snatching ability, then it would make a great deal of sense to program in regular power snatches to improve their bar speed and pulling power.
It may be the case that an individual is already efficient at the power snatch, if this is the case, it would be worthwhile spending a greater amount of time on the full snatch to allow them to become more accustomed to handling heavier loads.
Testing a lifters one rep max can be beneficial for consequent programming to ensure that the correct weight and intensity are prescribed (6).
For developing bar speed and technique, it is recommended to perform 1-3 repetitions using 50-75% of the lifters full snatch 1 rep max.
For developing strength speed and for lighter training days, it is recommended to perform 1-2 repetitions using 70-85% of the lifters full snatch 1 rep max.
While improving the power snatch can certainly be beneficial, it should not be more important than improving the full snatch. Therefore, it is worthwhile assessing one’s full snatch regularly and look to pinpoint weak areas that can be improved.
Those who can power snatch a great deal of weight (more than 85% of their full snatch), may be stronger pullers already and therefore should focus more on the transition and getting under the bar quickly.
Conversely, those who can already rapidly drop under the bar and catch, may be better suited to concentrating on the power snatch for a period of time in order to develop their power generation and technique.
Final Word
There is no denying that the power snatch is one of the best exercises that can be performed for developing speed and power. Therefore, this exercise is highly recommended, not only for Olympic lifters, but also for athletes, sportspeople and lifters looking to develop their overall power.
For more news and updates, follow Generation Iron on Facebook, Twitter, and Instagram.
References:
1-Hackett, Daniel; Davies, Tim; Soomro, Najeebullah; Halaki, Mark (2016-7). “Olympic weightlifting training improves vertical jump height in sportspeople: a systematic review with meta-analysis”. British Journal of Sports Medicine. 50 (14): 865–872. doi:10.1136/bjsports-2015-094951. ISSN 1473-0480. PMID 26626268.
2-Hornsby, W. Guy; Gentles, Jeremy A.; MacDonald, Christopher J.; Mizuguchi, Satoshi; Ramsey, Michael W.; Stone, Michael H. (October 13, 2017). “Maximum Strength, Rate of Force Development, Jump Height, and Peak Power Alterations in Weightlifters across Five Months of Training”. Sports. 5 (4). doi:10.3390/sports5040078. ISSN 2075-4663. PMC 5969034. PMID 29910439.
3-Harbili, Erbil; Alptekin, Ahmet (May 1, 2014). “Comparative Kinematic Analysis of the Snatch Lifts in Elite Male Adolescent Weightlifters”. Journal of Sports Science & Medicine. 13 (2): 417–422. ISSN 1303-2968. PMC 3990899. PMID 24790499.
4-Gourgoulis, V.; Aggelousis, N.; Mavromatis, G.; Garas, A. (2000-8). “Three-dimensional kinematic analysis of the snatch of elite Greek weightlifters”. Journal of Sports Sciences. 18 (8): 643–652. doi:10.1080/02640410050082332. ISSN 0264-0414. PMID 10972413.
5-“Power Snatch Technique”. educ.jmu.edu.
6-Faigenbaum, Avery D.; McFarland, James E.; Herman, Robert; Naclerio, Fernando; Ratamess, Nicholas A.; Kang, Jie; Myer, Gregory D. (2012-2). “RELIABILITY OF THE ONE REPETITION-MAXIMUM POWER CLEAN TEST IN ADOLESCENT ATHLETES”. Journal of strength and conditioning research / National Strength & Conditioning Association. 26 (2): 432–437. doi:10.1519/JSC.0b013e318220db2c. ISSN 1064-8011. PMC 3561668. PMID 22233786.
Perfect Your Muscle With The Zercher Squat
Put your muscles to the test.
It’s no secret that every weight lifter loves leg day. Seriously. It’s not mind-numbingly difficult or torturous what so ever. Often times people complain about leg day and to those individuals we have a few words for you: stop your whining.
Leg day is the one day out of the week where you get to focus on some of the most important muscles to develop in the body. Not only do you work your legs, but with most exercises targeting the legs you must utilize your lower back and your core in the movement as well. Want a strong stomach and back? Then perform some squats to make some major gains in those areas.
Now leg day can be a bit tedious, performing the same exercises over and over can be effective to an extent, but ultimately it’ll run you right into the plateau wall of doom. There’s nothing wrong with switching up your routine now and again, but you don’t want to stray too far from the formula that brought you to the dance. So what exercise should you add or supplement to your leg day training? The Zercher squat, that’s what.
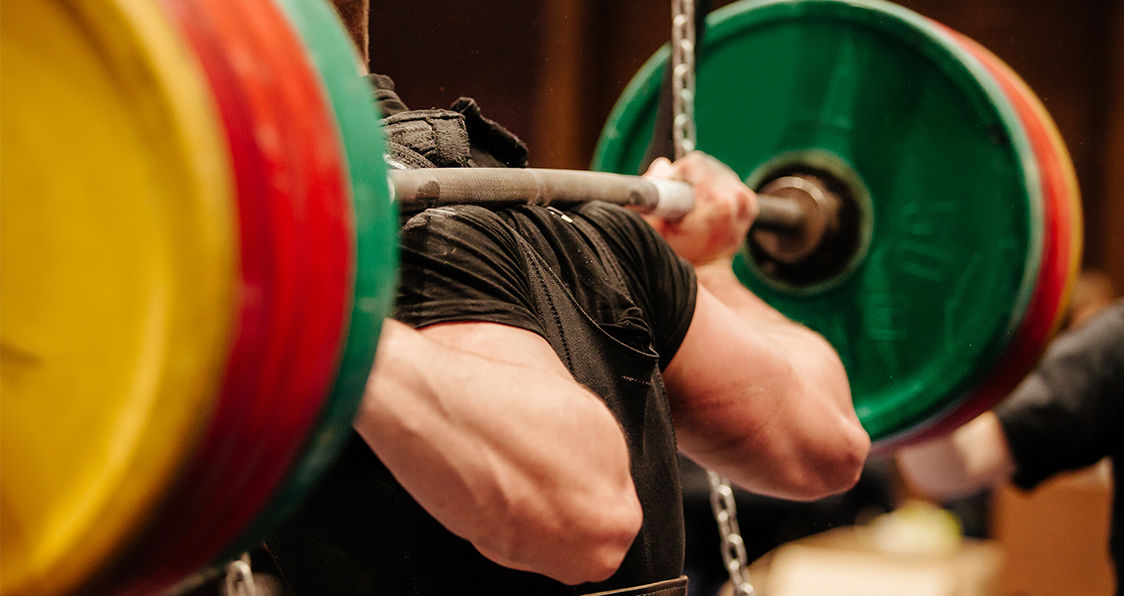
What the hell is the Zercher squat? It’s a variant on the regular squat that most of us are used to. It’s not quite a front squat, but it easy to confuse the movements a bit. Firstly, you perform this exercise at a squat rack. Rather than grip the barbell with your hands you load the bar onto your forearms, lock one of your fist with the opposite hand, and perform the squat from that position. Sounds pretty funky, we know. Maybe you’re wondering what the hell is the benefit to performing squats this way? Well be patient and we’ll tell you.
Great for Beginners
The Zercher Squat is great for beginners. Why? Because it works your technique and the mechanics of the exercise. This squat is more of a hip dominant exercise and will also help to improve your posture as well. This exercise could be the key to improving your regular squat and has the added benefit of not having stress your spine. It’s a win-win.
Work Core
Remember when we said squats can work your core? Well the Zercher squat emphasizes working the anterior muscles as much as the posterior chain and legs. The stabilizing anterior muscles, namely the abs and core, can some extra work from this motion. If you want to develop more than just your legs and get a stronger core and back then this exercise is for you.
Squat Deeper
We’ve said it once and we’ll say it for all time. If you want to build up your hamstrings, get some monster calves, some major quad work done, and just generally maximize your leg development, then you need to squat low. By focusing the weight towards the front of body, much like a front squat, you can focus more on squatting lower to get a complete range of motion. Utilizing the Zercher squat to improve your squatting depth will eventually translate to your regular squatting movement.
Is the Zercher squat apart of your move set? Let us know in the comments below and be sure to follow Generation Iron on Facebook and Twitter.
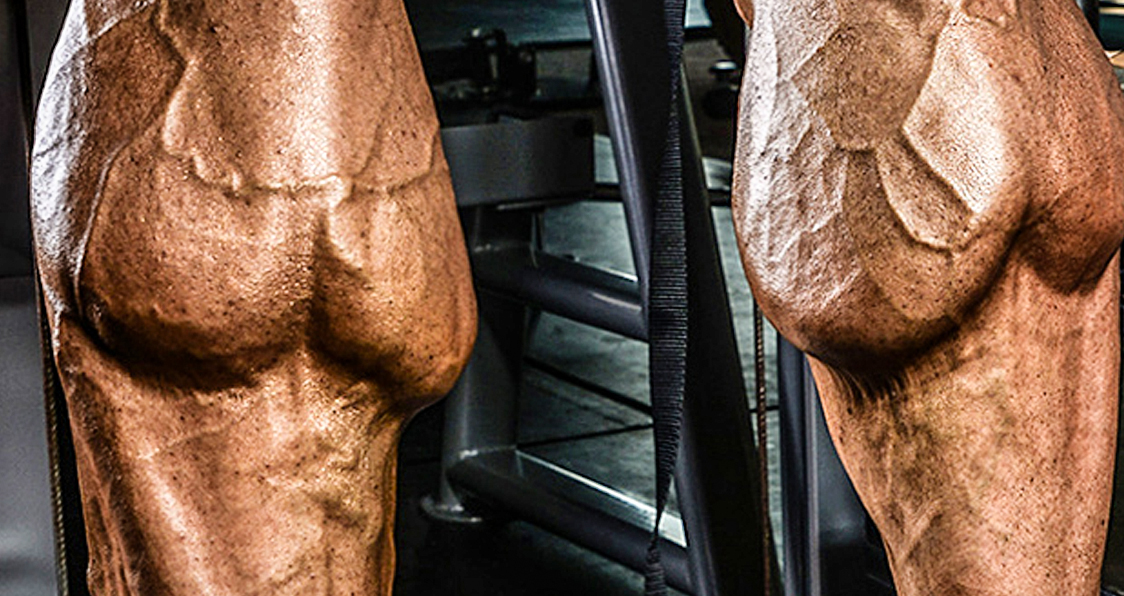
3 Fool-Proof Strategies For Bigger Stronger Calves
Turn those calves into cows.
When most people think of bodybuilders they imagine shredded abs, a broad chest, and ripped arms. Just an overall massive upper body akin to a superhero. But that would only be half the story. Many people who first begin bodybuilding are so obsessed with building their upper bodies that they forget about developing their legs as well. Unless you want to be massive with chicken legs, then you’re going to have to work your lower half.
But even when people do move on to training their legs they focus a great deal on building up their quads and their hamstrings rather than every bit of the leg. The problem is that in order to build a strong foundation you’ve got to have a bottom up approach. That means if you want to own some strong legs in shredded shape then you’re going to have to build up the lowest placed muscle on your body.
The calves are just as important to building symmetry as building up well defined forearms. No one wants 20 inch biceps with some puny forearms. Your arm would look more like a chicken leg than a vascular piece of muscle. The same goes for the legs. Having calves that are both big and strong will ensure that your body’s proportion will stay in order.
Not even Arnold Schwarzenegger could rest on his laurels when it comes to calf definition. It was a body part that he neglected and because of that he wasn’t placing as high as he wanted despite an impressive upper body. Of course, he changed that quickly – and you should too. If you want to be a pro or if you simply want to have a symmetrical form then you’re going to need impressive calves.
If you’re interested in building up some bigger stronger calves then take these valuable strategies under consideration.
High Reps (Muscle Endurance and Strength)
The calves are a multifunctional muscle group that can be built up not only for endurance, but for strength as well. Calf raises isn’t the only exercise that can be performed for gains in the muscle group, but it’s perhaps the most focused exercise for the particular area. The high rep strategy requires you to perform upwards of 30 reps within 2 sets and can prove to be the recipe to giving your calves some great muscle endurance and aid in bolstering your heavy lifts on leg day.
One Legged Calf Routine
The benefits of one legged calf raises are pretty apparent. By performing the exercise one leg at a time you’ll ensure that you’re not only making some major calf gains, but also increasing your balance and overall leg development. That same balance under stress can translate to other lifts that require sturdy legs like the squat.
Inner and Outer Calf Raises
It’s possible to work the calves without this method, but by focusing on specifically building the inner and outer parts of your calves you’ll be able to sure up any lagging points found in the muscle group. By performing calf raises in the pigeon toes style for the inner calves (toes point towards each other, heels out) or duck feet style for the outer calves(toes pointing outward, heels inward), the entire muscle group will be worked at every angle.
What’s your favorite exercise to build your calves? Let s know in the comments below and be sure to follow Generation Iron on Facebook and Twitter.
How To Deadlift Without Passing Out
Don’t fall face first into the weights.
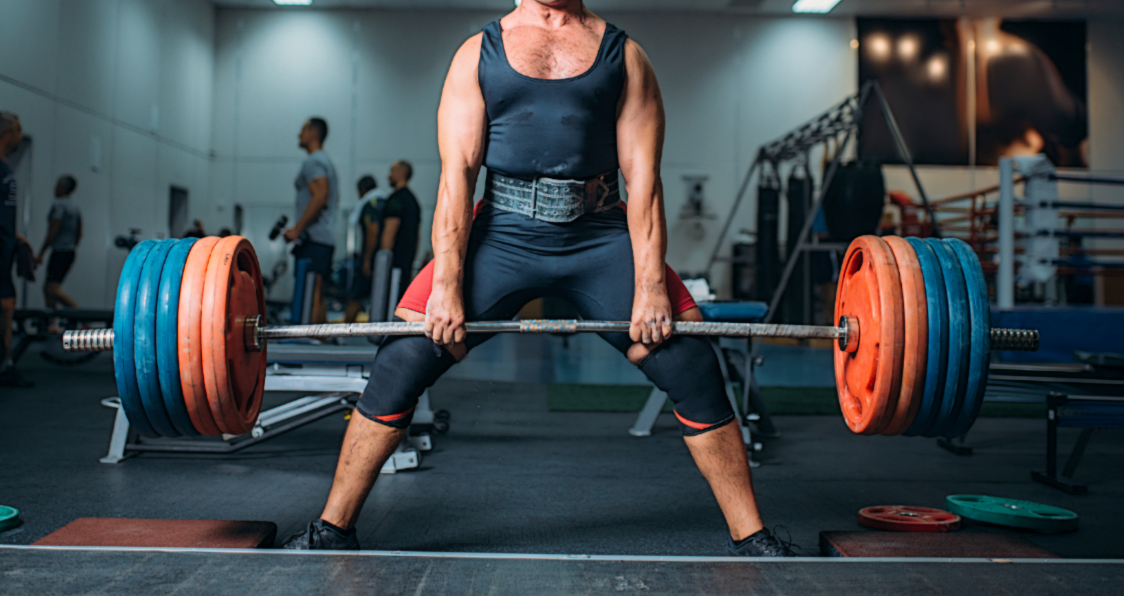
We’ve all seen it before. Guys passing out from doing heavy deadlifts. It’s a phenomenon that has left many viewers holding their ribs in mind numbing laughter while leaving others scratching their heads. What the hell causes that to happen in the first place? Is it the mental stress of performing the lift or is there some other cause behind this strange occurrence?
When you’ve been lifting for a long time you’ll notice that guys in the gym usually tend to train the deadlift considerably less than they do the bench and the squat. At least they do when they start going heavy. The amount of stress benching and squatting puts on the body pales in comparison to how much deadlifts can take out of you. So what makes deads so different than the others?
Well for one, because of the nature of the lift, the fact that it’s a pulling exercise, the lifter is able to haul more weight than what you’d expect out of the bench and the squat. If you took a look at your own numbers you’d probably realize that your deadlift is in some cases double the amount of what you bench. It’s the reason deadlifts are trained 3 to 4 times a month as opposed to being apart of a lifters typical back routine 3 to 4 times a week.
Despite the fact that deadlifts are awesome for back gains they’ve proven to be dangerous. Here are some tips that every lifter should consider when performing this powerful exercise.
If you want to get even more in-depth, make sure to check out Generation Iron Plus for online bodybuilding courses, training guides, nutrition plans, and more. It’s the ultimate tool to become the best bodybuilder version of yourself.
1. The effect on the central nervous system
The stress that deadlifts put on the central nervous system is substantial. Performing the lift successfully can be a daunting task and be taxing both physically and mentally. You’re lifting the bar from a static position which requires the lifter to generate a substantial amount of strength. Be mindful of the amount of stress you’re putting your body under.
2. Rest Periods
Recovery is also paramount to performing this exercise consistently and frequently. Rest intervals are important to build up enough strength to perform the action again and if you rush things you can find yourself passing out from the sheer fatigue and pressure.
3. Be mentally prepared
It may seem a bit self explanatory, getting your head in the game to perform a heavy lift, but it’s essential that when you’re performing the deadlift that your mind is completely focused on the task. Where performing a back squat virtually depends on you completing the action or being crushed under the barbell’s weight, the deadlift requires you to do the lift from a static position. You’re mind forces you to complete the squat or face serious injury giving you a mental edge. When you perform the deadlift you have to approach the bar with a positive attitude and the mental fortitude to not just try and lift the bar, but know that you’ll lift it without a doubt in your mind.
The deadlift can be mentally and physically taxing, but if you have an iron will and play things smart then you’ll be performing the deadlift with ease in no time. While there is no sure fire miracle tip that will 100% prevent you from passing out – keep these three key elements in mind every time you go into the deadlift.
What are your thoughts on the deadlift? Let us know in the comments below and be sure to follow Generation Iron on Facebook and Twitter.
The Key To Massive Legs
Raise your very own quadrasaurus.
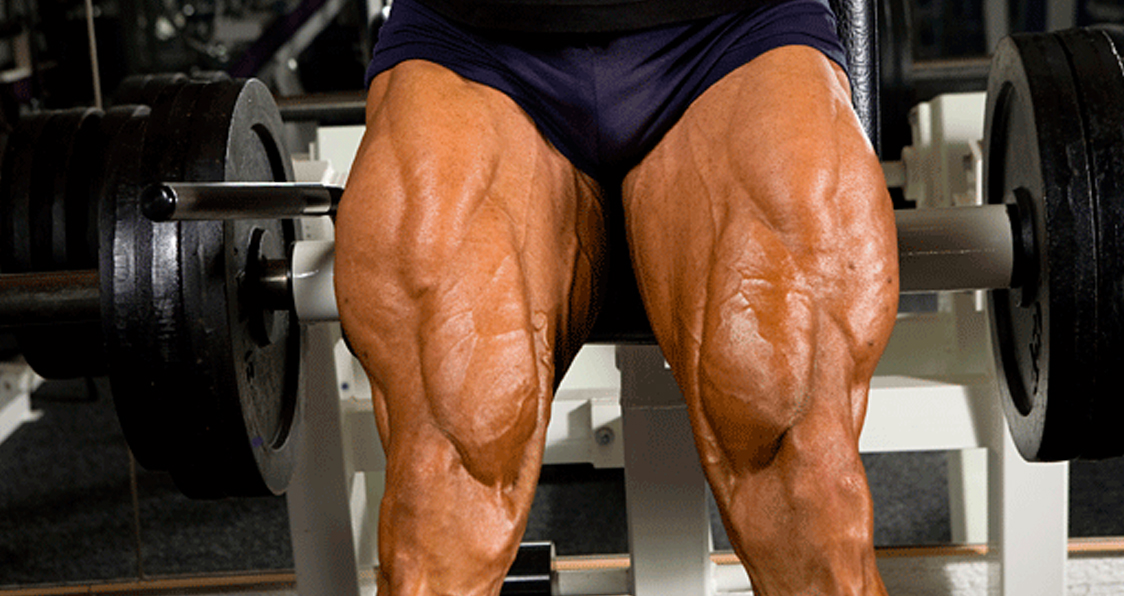
Having gigantic ripped legs are things of legend. Sure, everyone loves having massive biceps and chests – but that’s the obvious choice. When you see someone with truly massive legs it’s a sight to behold.
But why don’t you have legs like that? (Unless you do, then congratulations!) We’re here to help you out with that. Many people tend to take it easy on their leg workouts or even skip it all together. This is mostly because legs are one of the harder areas to make look lean and massive.
But instead of giving your legs the silent treatment, here are some ways that you can improve your leg workout game and hopefully build some truly massive muscles.
Your Deadlift and Squat Form Really Sucks
Let’s start off with a simple one. Almost everyone knows that deadlifts and squats are essential workouts for bodybuilding and a great way to strengthen your legs. But it’s not that simple if you are slacking off and screwing up your form. If you curve the crap out of your back on squats or slam the weight down onto the floor for every deadlift rep – you are doing something wrong. This leads to ineffective muscle building. It leads to an inflated sense of how much you can lift. It leads to weak legs. The opposite of what you want.
Use Isolated Movements as Accessory Exercises
This is where a lot of people make mistakes. All of those machines like Leg Extensions and Leg Curls should not be the main focus of your leg workout. These are not go to machines that will make your legs look like bulging monsters.
But don’t ignore these exercises completely. You can work with these machines at high repetitions and medium resistance to really isolate and tone your quads and hamstrings. While the compound exercises will really bulk up the muscle – these exercises will perfectly tone them into incredible definition. Think of these as accessories and not the main meal.
Make Sure to Work Unilaterally
No matter who you are, almost everyone is either right or left dominant. This goes for any body part. This means that when you work your muscles one is always doing a little bit more work than the other.
In order to prevent this, you need to include unilateral workouts into your routine. Exercises like lunges, single leg squats, and single leg deadlifts are surefire ways to make sure your muscles develop evenly.
We suggest that you perform these exercises at the beginning of your workout rather than the end. It’s very common to see these kinds of exercises as something you just sort of tack on at the end of the day. This leads to a half-hearted performance on your sets. Try to hit these exercises while you are fresh to improve the balance between your muscles.
Exercises You Should Add to Your Arsenal
With all of these helpful tips to help you move towards bigger and stronger legs, let’s put all of the essential workouts that you should use in your workout arsenal. Try mixing and matching these different exercises to create something that really maximizes your muscle gains.
Major Exercises
Squats
Traditional Deadlifts
Stiff Leg Deadlifts
Sumo Deadlifts
Romanian Deadlift
Power Clean
Single Leg Squats
Single Leg Deadlifts
Accessory Exercises
Lunges
Leg Extensions
Leg Curls
Standing Calf Raises
Are you a master of meaty legs? Share your tips with us in the comments section below. You can also give us a shout out on our Facebook and Twitter pages too.
The 10 Highest-Rated Bicep Exercises
Best Biceps Exercises You Can Do
Biceps have been the symbol of strength and masculinity for a long time. Gym bros love training biceps and are one of the most often trained muscle groups. Broscientists around the world hardly skip a bicep workout.
No two bicep exercises are the same. You need to have a balance between isolation (single-joint) and compound (multi-joint) exercises to ensure an overall development of your biceps. We will list the five best isolation and compound exercises each in this article.
Before we get into the exercises, here is the bicep anatomy to help you better understand the muscles recruited while performing these exercises.
Biceps Compound Exercises
Barbell Curls
Barbell Curls are the gold standard when it comes to biceps training. Using the Olympic bar on this lift will help you get the best results. Switching between the shoulder, narrow, and wide-grips will help you target your biceps from different angles.
Dumbbell Curls
Dumbbell curls help in building the peak (brachii) and the long head (brachialis) of your guns. Most people make the mistake of supinating their wrists at the bottom of the movement. You should rotate your wrist in the middle of the movement while curling the dumbbell.
Hammer Curls
Hammer curls work the long head (brachialis) and the brachioradialis which runs from your wrist across the inside portion of your elbow and into your upper arm bone. You can perform the hammer curls with your thumbs over the dumbbell handle to better recruit your brachioradialis muscle.
Zottman Curls
The Zottman curls are a complete bicep builder. Zottman curls have the same curling motion as the normal bicep curls but you have to rotate your wrists at the top of the movement so your palms are facing the floor while you perform the negative motion. The curling motion works the brachii while the negative motion works the brachialis and the brachioradialis.
EZ Bar Curls
EZ bar can be a lifesaver for people with wrist problems. The EZ bar takes off the tension from your wrists as you curl the bar. The EZ bar can also be used to focus on the long and short heads of your biceps.
Biceps Isolation Exercises
Machine Preacher Curls
Machine preacher curls can completely exhaust your pythons. You should maintain a full range of motion while performing the isolation exercises. Performing drop sets on these isolation exercises will fill your biceps with lactic acid.
Incline Bench Dumbbell Curls
Incline bench dumbbell curls are different as compared to the standard dumbbell curls as this exercise restricts you from using momentum to lift the dumbbells. You’ll be able to lift lighter weights than you lift while performing the normal dumbbell curls.
Cable Bicep Curls
Incorporating cables into your workouts is a great idea as they can completely smoke your muscles by putting constant tension on your muscles throughout the exercise. While using the cables, you will have tension on both the concentric and eccentric motions. On the other hand, you only have tension on the concentric movement while using dumbbells.
Concentration Dumbbell Curls
Isolation exercises primarily help you in building the peak and definition in your biceps. The concentration curls work your brachii. Maintaining a mind-muscle connection and squeezing your pythons at the top of the movements is a must to get the best results.
Overhead Cable Curls
The front double bicep is the most common pose and the overhead cable curls help you in shaping your guns for this pose. Keep your elbows pinned at a place and squeeze the living hell out of your biceps at the top of the movement.
Which is your favorite bicep exercise? Let us know in the comments below. Also, be sure to follow Generation Iron on Facebook and Twitter.
